Diary of a Retro Collector: Week 21
Not exactly a weekly round up this week. But a single topic that actually could spawn an entire video or podcast on its own. Yellowing of retro consoles is a real thing and un-doing it is a big task. So here’s what I’ve been up to this week.
Game Boy DMG “Play it Loud” Clear – eBay Auction

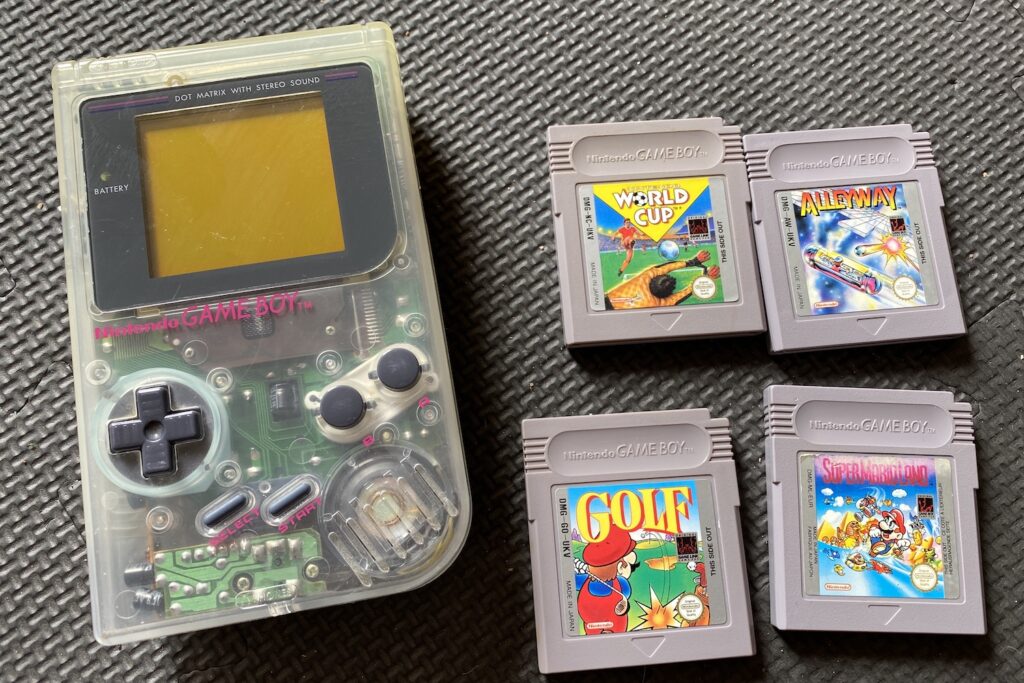
I already have a diverse collection of Game Boys, you probably won’t be surprised to hear, including original DMGs. but strangely none are of the PLAY IT LOUD coloured housing range – or in this case, lack of any colour with the original see-thru transparent shell. But also, with my lockdown situation, I needed a DMG to measure up for an upcoming project and everything is in storage about 120 miles away. So I needed to grab one on the fly.
This bundle I won on auction after a quick search revealed that Game Boy console prices have risen dramatically since I first started collecting a good 6 years ago, for convenience I probably overpaid here against market prices, but I’m not concerned. Back then most retro shops and even eBay had Yellow ones, pockets and Game Boy Advances for £15-£20. Now, you are lucky to get consoles unboxed for below £30 really. Recently I have even started helping a friend get a Game Boy Colour and he faced exactly this challenge. In this listing I won, it also included some bundled games that are a bonus but nothing I don’t already have. Maybe I will keep them as test carts or pass them on.

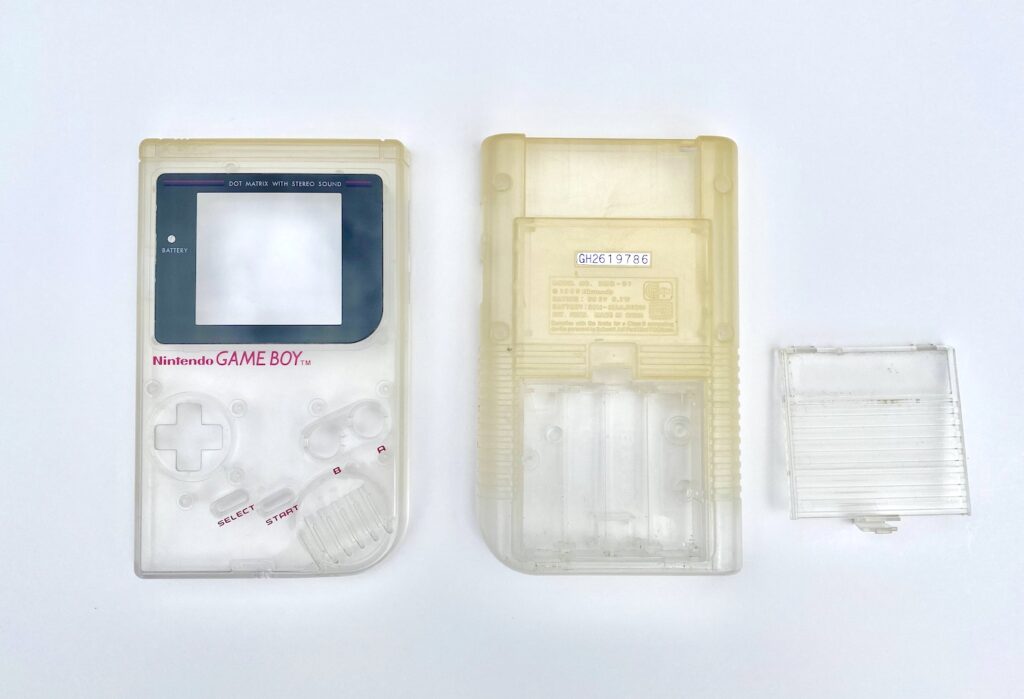
What I didn’t realise at the time of bidding this particular one, is despite being in excellent condition otherwise, theres quite a bit of yellowing. Not the end of the world at all, but now I have an added task of restoring this guy as much as possible and reversing the yellowing is a process that takes care. There’s a few different processes to reverse this yellowing; you can use a mixture called Retro-Bite, or some Oxy-Action Whitener, or the
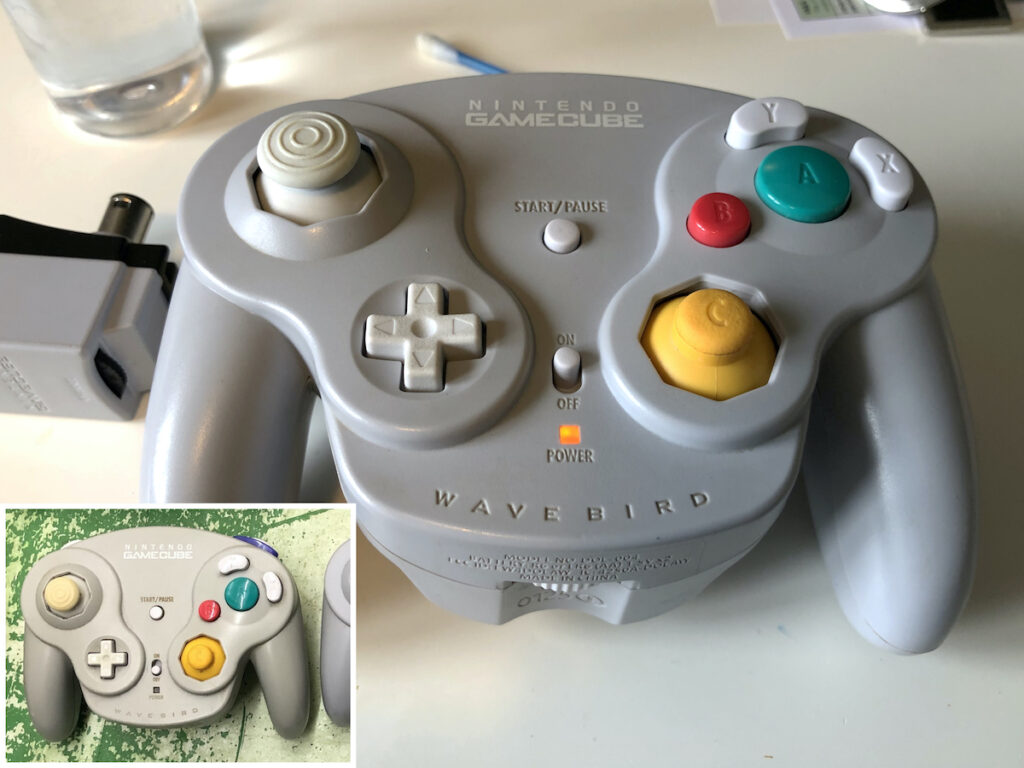
My approach with this guy, is the latter. We have just entered the summer season here in the UK and my garden is South facing, so should be able to get a solid 6-8 hours of direct sunlight for a couple of weeks to see the effects. I did this before with a GameCube Wavebird controller for a friend and did an excellent job. See below photo to show a before an after. So I am very hopeful that I will be able to repeat the same success on this Game Boy and return it to it’s former glory.

Ofcourse, then, my OCD now demands that I get hold of the orginal Play It Loud hard plastic case that it came in. If I can get one with the full retail card inserts, Winning!!
Join me on Instagram and Twitter for more Retro Gaming related stuff.